Step 1: Age 3-5
Fill the molds
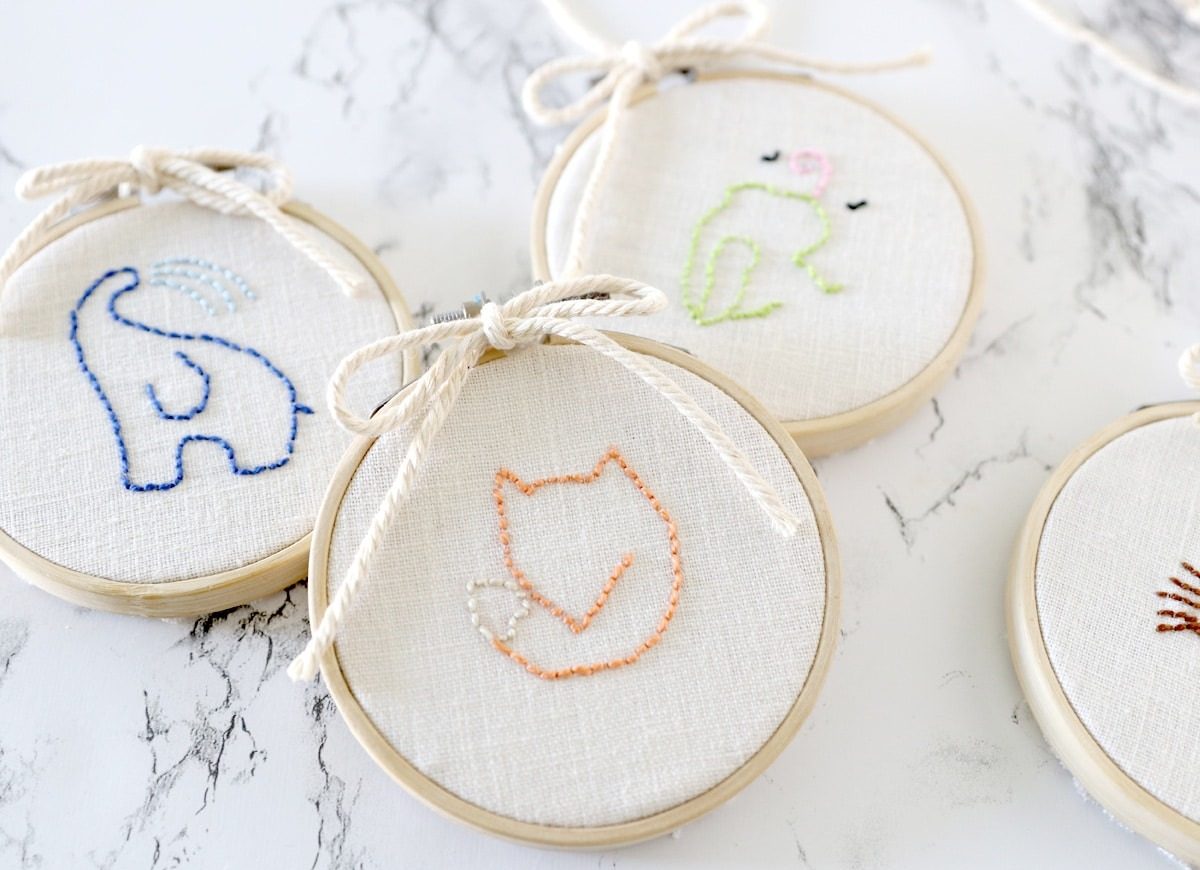
A nice way to start: poke in the lines.
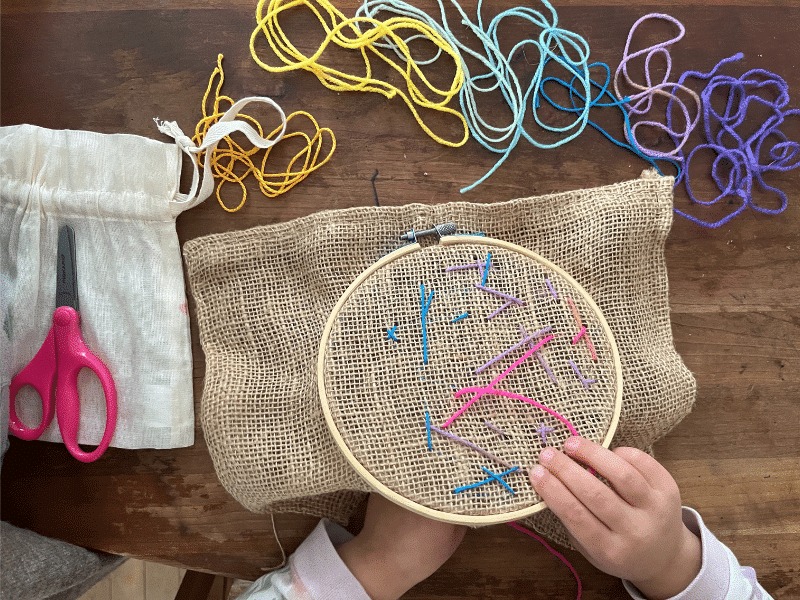
Stretch a 10×10 inch cburlap into an 8 inch embroidery frame.
Paint different large shapes on burlap with light acrylic paint (too clogs the fabric); allow to dry.
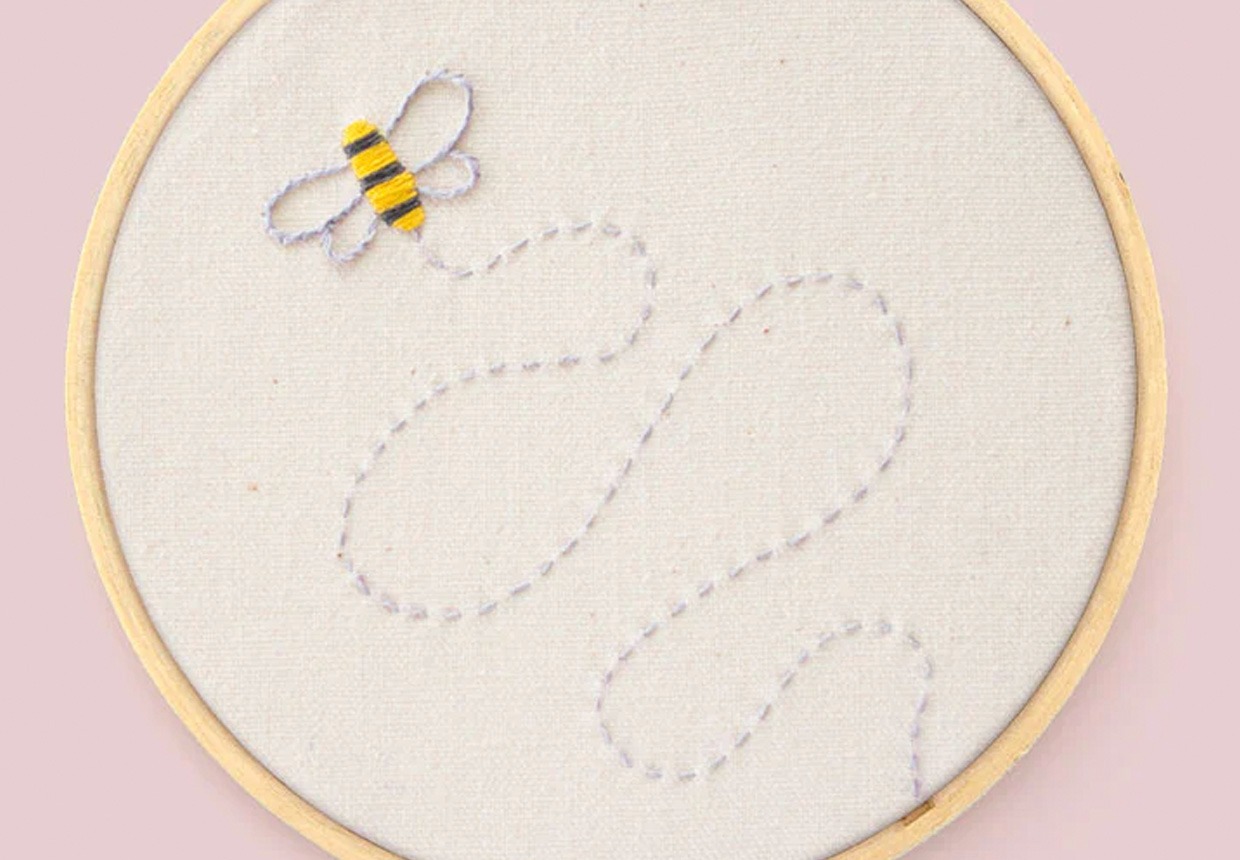
Thread the thread on a childproof needle, tie a knot at the opposite end and teach your child a base stitch(through the fabric up, then a few holes down). Make him vary the length of the point and the crossed lines to see the different effects.
Step 2: Age 6-8
Custom Bookmarks
Combine two simple points to get amazing results!
Use painter’s tape to create a guide on a piece of burlap (it will also stabilize it). With a thin marker, write your child’s name or a short word (like READ or YAY!) on burlap in capital letters.
Thread embroidery silk onto a Kidsafe needle, tie a double knot, and have your child use a back stitch (see our full stitch guide) to draw each letter.
Use a satin stitch to fill the letters. Point diagonally on those with right angles (E, L) and point horizontally on the letters, curve or oblique (A, B, X).
Cut a piece of cotton fabric about ¼ inch larger than your tapped border. Coat one side of the fabric with Mod Podge glue; stick to the back of the burlap. Remove the adhesive tape, allow to dry and cut.
Optional: add a tassel!
Level 3: Age 9-12
Boho Wall Hanging
Vary stitches and yarn types for cool art. Let your child design your own Design!
Cut a 12×14 inch rectangle of burlap. Cut the bottom edge at one point.
Draw lightly on your design with a fine marker, including a border at least 1 inch from the edge. Use the holes in the burlap as a guide to create a variety of shapes and lines.
Sew the edge with a colored thread and a child-proof needle. Then fill the Design with different colors, thread types and stitches (see our stitch guide). We used chain stitch, French knot, satin stitch, split stitch and running stitch.
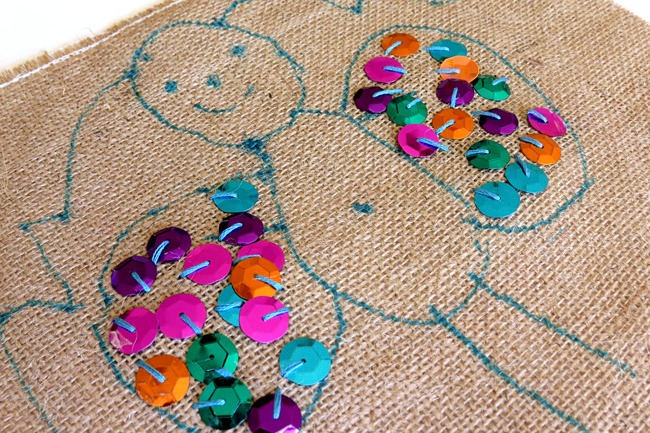
To add beads, tie the thread, sew through the burlap and slide a Bead on the needle. Hold the Bead in place against the burlap, then sew down and fasten the knot.
When the tapestry is ready, glue a peg to the upper edge. Hang with a length of embroidered silk.